
First you need to have setup a new SIP account (extension) in your Nehos customer panel. You will need the username and password.
First select the Accounts / Gateway menu option
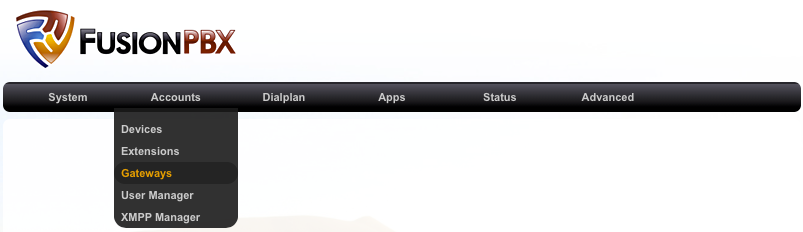
Next click the Add button at the right of the screen to add a new gateway

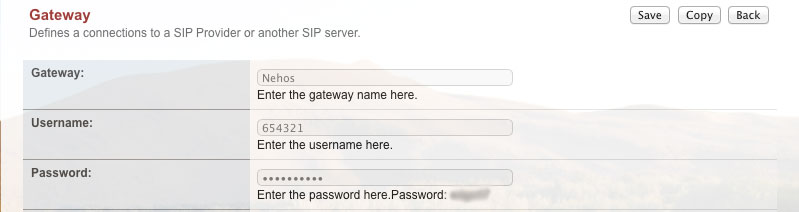
Next we need to add the Gateway Name to easy identify this route in other applications. You will also add your Nehos SIP username and password here.
You need to enter the Nehos SIP Proxy : sip.nehos.com.au:5060, Realm : sip.nehos.com.au, Expire Seconds : 800, Register : True, Retry : 30, Context : Public, Profile : external
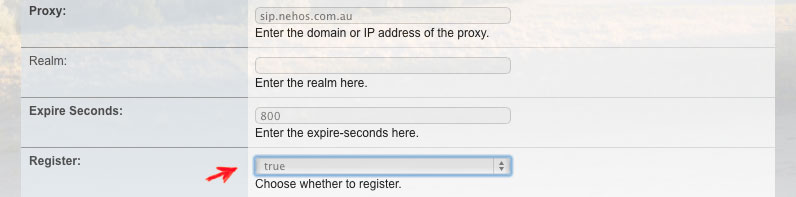
Make sure Enabled : is True
![]()
Hit Save
If the details were entered correctly we should be able to see that FusionPBX has registered with sip.nehos.com.au. You may need to refresh this page to get the updated status

Now we need to create an Outbound Route to tell FusionPBX what calls to send to Nehos. Click on the Dialplan / Outbound Routes menu option

and click the Add button

Next we enter the outbound route details. Firstly choose Nehos as your outbound gateway

Next we need to enter the dial plan to use with Nehos. Copy and paste the below into the window as per example.
^(0[2378]\d{8})$
^(\d{8})$
^(0011\d{5-25})$
^(1[3|8]\d{8})$
^(1[3|8]\d{4})$
^(04\d{8})$
^(000)$